🧢 Beautiful ✨ Detailed πŸ’ Adorable

Eeyore Donkey Amigurumi Pattern

Eeyore Donkey Amigurumi Pattern
4.3β˜… Rating
5-7 Hours Time Needed
1.7K Made This
βœ‚οΈ

Intermediate Level

Ideal for those with basic crochet experience, featuring slightly more advanced stitches and techniques to expand your skills.

⏱️

Weekend Treat

Takes 5-7 hours, making it an enjoyable project to finish over a couple of days.

🧸

Cute Companion

An adorable friend to cherish, handcrafted with love to bring comfort and joy for years to come.

About This Eeyore Donkey Amigurumi Pattern

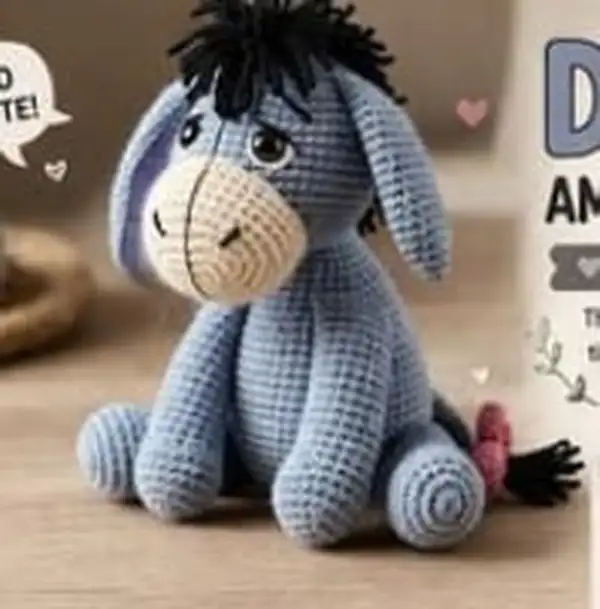
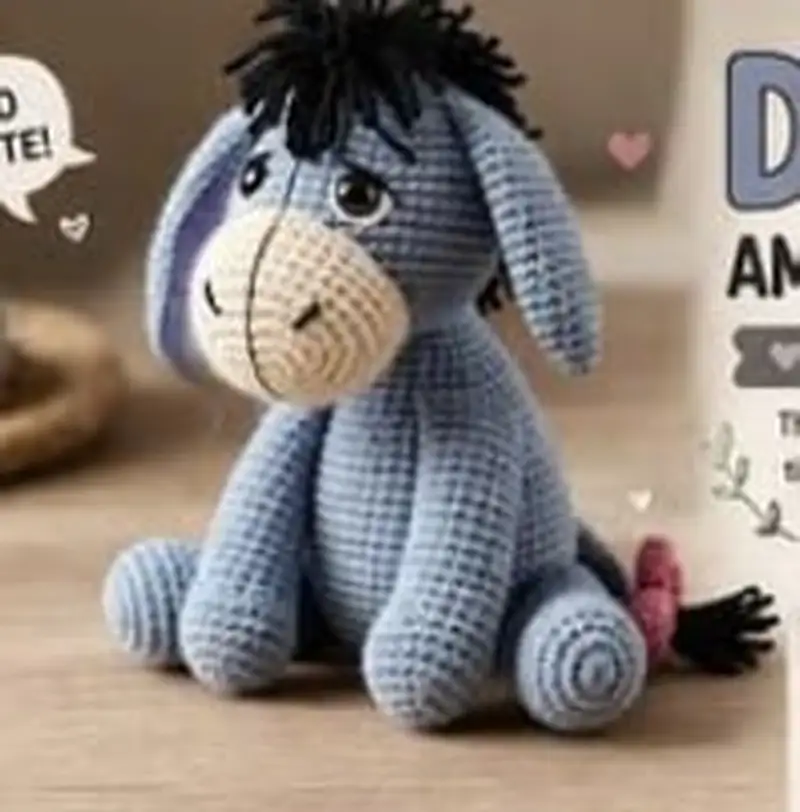
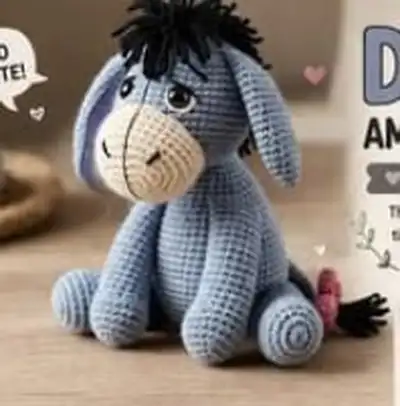
This pattern recreates a small Eeyore-inspired donkey amigurumi with a soft gray-blue body, beige rounded muzzle, dark navy mane and tail tuft, and a tiny pink ribbon on the tail. The design emphasizes floppy ears, a slightly slumped posture, and embroidered sleepy eyes for character. Constructed in separate pieces then sewn together, it balances simplicity with charming detail. Suitable for makers comfortable with continuous round crochet and simple shaping.

Eeyore Donkey Amigurumi Pattern crochet pattern - detailed view of completed project

Unique features include a spiral curled tail, short tasseled mane worked as fringe, and a slightly flattened snout that gives Eeyore his classic expression. The pattern includes detailed placement instructions to achieve the same soulful look.

Why You'll Love This Eeyore Donkey Amigurumi Pattern

I love this pattern because it captures the gentle, melancholic charm of the donkey with simple shapes and expressive details. I enjoy how the floppy ears and small tail ribbon add personality without complicated techniques. The construction is satisfying: you see each piece take shape and then come together into a lovable character.

Eeyore Donkey Amigurumi Pattern step 1 - construction progress Eeyore Donkey Amigurumi Pattern step 2 - assembly progress Eeyore Donkey Amigurumi Pattern step 3 - details and accessories Eeyore Donkey Amigurumi Pattern step 4 - final assembly and finishing

Switch Things Up

I absolutely loved designing this pattern because it offers so many opportunities for creative customization while maintaining a structure that's fun and manageable to crochet. The floppy ears and small tail ribbon are perfect places to add personalityβ€”try different ribbon colors or a tiny bell for a festive version.

I often change the mane color to a contrasting shade to make the eyes pop, or make the muzzle a softer cream for a warmer expression. You can also experiment with yarn weight: sport weight yarn with a smaller hook will give you a smaller, more detailed toy, whereas bulky yarn and a larger hook will create a cuddlier, larger Eeyore.

I also recommend mixing embroidered details with safety eyes for a bespoke look: embroider a thoughtful mouth or different eyelid shape to make each finished piece uniquely expressive. Have fun making it your own!

Common Mistakes & How to Fix Them

βœ— Skipping stitch markers at round starts can cause misaligned features and uneven shaping; always mark your first stitch of each round βœ— Inconsistent tension between rounds creates lumpy or uneven surfaces; practice maintaining steady, even tension throughout the entire project βœ— Not stuffing gradually as you work causes difficulty reaching inside later; stuff sections as you complete them for best results βœ— Placing safety eyes too high or too low alters expression; follow the placement rounds carefully and measure spacing before locking eyes βœ— Using a hook too large for amigurumi yarn results in visible stuffing and floppy fabric; use a slightly smaller hook than the yarn label recommends βœ— Rushing decreases at the neck can create a gap where the head and body join; decrease slowly and stuff firmly for a smooth seam βœ— Not weaving in ends securely before final sewing can make seams come undone; always weave ends through multiple stitches for security βœ— Overstuffing makes shaping harder and can distort facial embroidery; stuff firmly but leave some give for shaping

Eeyore Donkey Amigurumi Pattern

Create a sweet, slightly-sad Eeyore-inspired donkey amigurumi with soft gray-blue body, beige muzzle, dark navy mane and tail tuft, and a tiny pink tail ribbon. This cuddly plush features long floppy ears, spiral curled tail, and embroidered facial details for maximum charm. Clear step-by-step instructions guide you through every round, stuffing tip, and assembly technique to recreate this character with a handmade touch.

Intermediate 5-7 Hours

Materials Needed for Eeyore Donkey Amigurumi Pattern

β€” Main Fabric

  • 01
    Worsted weight yarn (#4), approximately 120g in main color 'gray-blue' for head, body, arms and legs
  • 02
    50-60g in 'beige' for muzzle and inner ear highlights
  • 03
    20-30g in 'dark navy' or black for mane, tail tuft and mane fringe
  • 04
    10-15g in 'soft pink' for tail ribbon
  • 05
    Small amounts (10-15g) in 'black' and 'white' for eye embroidery and muzzle nostrils

β€” Tools Required

  • 01
    3.25mm (D) crochet hook for main work (recommended)
  • 02
    3.0mm hook for tighter fabric on small parts (optional)
  • 03
    Safety eyes 8mm (or 10mm based on preference) or black embroidery thread for embroidered eyes
  • 04
    Polyester fiberfill stuffing
  • 05
    Yarn needle for sewing and embroidery
  • 06
    Stitch markers (at least 3-4)
  • 07
    Scissors
  • 08
    Pins for assembly
  • 09
    Optional: Short pieces of craft wire for poseable limbs (wrap ends securely)
  • 10
    Optional: Fabric glue for securing knot-heavy embellishments

Progress Tracker

0% Complete

β€” Head :

Round 1 :

6 sc in magic ring (6)

Round 2 :

6 inc (12)

Round 3 :

(1 sc, 1 inc) x 6 (18)

Round 4 :

(2 sc, 1 inc) x 6 (24)

Round 5 :

(3 sc, 1 inc) x 6 (30)

Round 6 :

(4 sc, 1 inc) x 6 (36)

Round 7 :

(5 sc, 1 inc) x 6 (42)

Round 8 :

(6 sc, 1 inc) x 6 (48)

Round 9-20 :

1 sc in each st (48)

Info :

Place safety eyes between rounds 13-14, approximately 8-10 stitches apart depending on desired look. If embroidering eyes, mark positions now. Use a stitch marker to mark the center front to help symmetrical placement.

Round 21 :

(6 sc, 1 dec) x 6 (42)

Round 22 :

(5 sc, 1 dec) x 6 (36)

Info :

Begin stuffing the head firmly but not overly tight. Use small pieces of fiberfill and press into facial areas first (cheeks, muzzle base) for even shaping. Continue stuffing gradually as you progress through decreases.

Round 23 :

(4 sc, 1 dec) x 6 (30)

Round 24 :

(3 sc, 1 dec) x 6 (24)

Round 25 :

(2 sc, 1 dec) x 6 (18)

Round 26 :

(1 sc, 1 dec) x 6 (12)

Round 27 :

6 dec (6)

Info :

Fasten off leaving a long tail (~20-25cm) for sewing. Finish stuffing to desired firmness through the opening before closing. Use ladder stitch to close the top neatly and hide the tail end inside the head.

β€” Muzzle (Beige) :

Round 1 :

6 sc in magic ring (6)

Round 2 :

6 inc (12)

Round 3 :

(1 sc, 1 inc) x 6 (18)

Round 4 :

(2 sc, 1 inc) x 6 (24)

Round 5 :

1 sc in each st (24)

Info :

To create the flattened, oval muzzle shape, after round 5 flatten the piece slightly and place it on the head to check positioning. You will shape the muzzle with a few extra rows and light stuffing.

Round 6 :

(3 sc, 1 dec) x 6 (18)

Round 7 :

1 sc in each st (18)

Round 8 :

(2 sc, 1 dec) x 4, 1 sc in remaining stitches (14)

Round 9 :

1 sc in each st (14)

Round 10 :

Work 1 sc in next 6 sts only (this creates a slight oval front); leave remaining sts unworked; fasten off leaving long tail for sewing

Info :

Sew snout to the head centered between the eyes around round 14-15 of the head (refer to head round counts). Use the long tail to whip stitch the muzzle down, stuffing lightly inside so the muzzle sits softly in front of the face. Embroider nostrils with black yarn or thread using small satin stitch ovals.

β€” Body :

Round 1 :

6 sc in magic ring (6)

Round 2 :

6 inc (12)

Round 3 :

(1 sc, 1 inc) x 6 (18)

Round 4 :

(2 sc, 1 inc) x 6 (24)

Round 5 :

(3 sc, 1 inc) x 6 (30)

Round 6 :

(4 sc, 1 inc) x 6 (36)

Round 7 :

(5 sc, 1 inc) x 6 (42)

Round 8-12 :

1 sc in each st (42)

Info :

If you want the slightly rounded back and belly of Eeyore, stuff the bottom more firmly and the middle more lightly. Work these even rounds keeping tension consistent. If adding any chest stitching or ridge, change to BLO for a couple of rounds here.

Round 13 :

1 sc in each st BLO (42)

Round 14-18 :

1 sc in each st (42)

Info :

Begin stuffing the body moderately at round 16-17. Distribute stuffing to create a slightly flattened base so the toy sits upright but with a slight slouch that matches the photo. Position the head opening so the neck will align to head opening after both are completed.

Round 19 :

(6 sc, 1 dec) x 6 (36)

Round 20 :

(5 sc, 1 dec) x 6 (30)

Round 21 :

(4 sc, 1 dec) x 6 (24)

Round 22 :

(3 sc, 1 dec) x 6 (18)

Round 23 :

(2 sc, 1 dec) x 6 (12)

Round 24 :

6 dec (6)

Info :

Leave a long tail for sewing the head to the body. If you prefer a removable head (for stuffing or washing), do not fasten off but create a neck tube to insert into the body opening, using 4-6 rounds of narrower stitches. Otherwise, close body leaving small opening to sew the head in place.

β€” Front Legs (Make 2) :

Round 1 :

6 sc in magic ring (6)

Round 2 :

6 inc (12)

Round 3 :

(1 sc, 1 inc) x 6 (18)

Round 4 :

1 sc in each st (18)

Round 5 :

(2 sc, 1 inc) x 4, 1 sc in remaining stitches (22)

Info :

These front legs are short and slightly tapered. Stuff the foot area more firmly than the leg so the donkey can sit with a natural forward slouch.

Round 6-8 :

1 sc in each st (22)

Round 9 :

(3 sc, 1 dec) x 4, 2 sc in remaining stitches (18)

Round 10-12 :

1 sc in each st (18)

Round 13 :

(4 sc, 1 dec) x 3 (15)

Round 14-16 :

1 sc in each st (15)

Round 17 :

(2 sc, 1 dec) x 3 (12)

Round 18 :

1 sc in each st (12)

Info :

Fasten off leaving long tails for sewing. Sew the front legs to the lower front body around rounds 9-12 of the body to create the sitting forward posture. Use extra back-and-forth stitches for durability.

β€” Back Legs (Make 2) :

Round 1 :

6 sc in magic ring (6)

Round 2 :

6 inc (12)

Round 3 :

(1 sc, 1 inc) x 6 (18)

Round 4 :

(2 sc, 1 inc) x 6 (24)

Round 5 :

(3 sc, 1 inc) x 6 (30)

Info :

The back legs are rounder and slightly larger as they form the donkey's hindquarters and help it sit. Stuff the foot portion firmly, and the thigh portion more moderately for a soft rounded appearance.

Round 6-9 :

1 sc in each st (30)

Round 10 :

(4 sc, 1 dec) x 5 (25)

Round 11-14 :

1 sc in each st (25)

Round 15 :

(3 sc, 1 dec) x 5 (20)

Round 16-18 :

1 sc in each st (20)

Round 19 :

(2 sc, 1 dec) x 4, 1 sc in remaining stitches (16)

Round 20 :

1 sc in each st (16)

Round 21 :

(1 sc, 1 dec) x 4 (12)

Round 22 :

6 dec (6)

Info :

Fasten off, leaving long tail for sewing. Sew back legs to bottom back of body around rounds 1-4 of the body so the donkey sits with the back legs bent to the side as in the photo. Use pins to adjust placement before sewing.

β€” Ears (Make 2) :

Round 1 :

6 sc in magic ring (6)

Round 2 :

6 inc (12)

Round 3 :

(1 sc, 1 inc) x 6 (18)

Round 4 :

(2 sc, 1 inc) x 6 (24)

Round 5 :

1 sc in next 16 sts, turn and continue working back along other side to create an oval ear shape; do not join to form a continuous tube (16)

Round 6 :

1 sc in each st (16)

Round 7 :

(2 sc, 1 dec) x 4 (12)

Round 8 :

1 sc in each st (12)

Round 9 :

(1 sc, 1 dec) x 4 (8)

Round 10 :

1 sc in each st (8)

Info :

Lightly stuff the base of the ear only so they fold naturally. Sew ears to top sides of head around head rounds 6-9 so they flop forwards slightly. Add a small inner ear highlight with beige yarn using surface slip stitch if desired.

β€” Tail (Spiral Tube and Tuft) :

Round 1 :

6 sc in magic ring (6)

Round 2 :

6 inc (12)

Round 3-6 :

1 sc in each st (12)

Round 7 :

(2 sc, 1 inc) x 4 (16)

Round 8-12 :

1 sc in each st (16)

Info :

To create the spiral curl of Eeyore's tail, after finishing the tube, stretch and wrap the tube around your finger or a short dowel, then sew along the inside of the spiral to hold the curl. You can insert a short piece of wired craft ribbon inside for stability if desired.

Tail Tuft :

Make a small tassel by cutting 10-12 strands of dark navy yarn, fold in half and knot through the tail tip. Trim to length and secure with a small wrap of yarn. Alternatively, crochet a small pompom or circle tuft: 6 sc in magic ring, 1 sc in each st next round, fasten off and attach.

Round 13 :

Fasten off leaving a long tail for sewing to body at back center around body round 10-12.

Tail Ribbon (Pink) :

Make a small bow by chaining 8, sl st back along chain to form a narrow band, wrap center with yarn to form bow. Sew bow to base of tuft securely.

β€” Mane (Fringe) :

Info :

The mane is created from multiple short fringes attached across the top of the head and down the neck. Cut several 3-5cm lengths of dark navy yarn and attach using a lark's head knot in staggered rows to mimic the clipped mane in the photo.

Step :

Attach 12-18 tufts across the head center and top of neck, spacing approximately every 3-4 stitches. Once tied, trim to uniform length and comb lightly to soften.

β€” Facial Details and Embroidery :

Info :

Use black embroidery thread to create sleepy eyelids and small eyebrows, placing the eyelids just above the safety eyes starting at head rounds 13-14. For a soft look, use a satin stitch for the muzzle nostrils and short straight stitches for the mouth line. Add small white highlights to the eyes with a tiny stitch or white paint dot if using safety eyes.

Step :

For the eyelid fold, use short stitches from one side of the eye socket to the other curving slightly downwards to create a sleepy expression. Place the mouth line centered under the muzzle and slightly off to one side if you prefer a melancholic look.

β€” Assembly & Final Shaping :

Info :

Before sewing, pin all pieces in place and compare to the photo for proportions: head centered on body top; ears flopped forward; mane along center top; front legs stitched slightly forward around body rounds 9-12; back legs attached around body bottom sides to create the relaxed sitting pose.

Step :

Use the long tail from the head to sew to the body opening or use ladder stitch for invisible joins. Reinforce seam with several passes of yarn for security since the head is often handled more than other parts. Weave in all ends inside the body for a neat finish.

Info :

If you prefer slightly larger or smaller, adjust by using a thicker or thinner yarn and change hook size. Always use a hook 0.5-1 mm smaller than the yarn label recommends for tight amigurumi fabric.

Assembly Instructions

  • Attach head to body by inserting the neck portion into the body opening. Pin in place first, then sew securely using whip stitch all around, ensuring even attachment
  • Position arms on sides of body at body rounds 9-12 for natural forward stance. Sew through both arm and body using ladder stitch for invisible seam and reinforce with extra passes
  • Attach legs to bottom of body at rounds 1-4, spacing them evenly about 6-8 stitches apart so the donkey sits stable. Sew in a few cross-stitches through the foot base to anchor
  • Sew ears to top of head at head rounds 6-9, spacing them 14-18 stitches apart. Angle them slightly forward and stitch the base firmly to prevent flopping out
  • Attach the spiral tail to the back center of body at body round 10-12. If using a wired insert, hide the wire ends and wrap with yarn before sewing in place
  • Attach mane tufts across the head center and neck using lark's head knots. Trim and comb to uniform length. Sew tail tuft and pink ribbon to tail tip securely
  • Embroider nose, mouth, and eyelids with black yarn or thread. Use small tight stitches and knot on the inside before trimming ends
  • Secure any loose ends by weaving through several stitches and trimming close to work. Optionally add a light blush on cheeks with pastel or fabric paint for added charm

Important Notes

  • πŸ’‘Use stitch markers consistently at the beginning of each round to avoid counting errors and maintain proper shaping
  • πŸ’‘Stuff body parts gradually as you work rather than waiting until the end, especially for narrow openings like arms and legs
  • πŸ’‘For safety eyes, position and secure before stuffing head fully - they cannot be repositioned once locked in place
  • πŸ’‘Maintain consistent tension throughout the project; too tight creates stiff, small pieces, too loose creates floppy, holey fabric
  • πŸ’‘When sewing pieces together, use yarn slightly thinner than working yarn for neater, less visible seams
  • πŸ’‘Pin all pieces in position before final sewing to ensure proper placement and symmetry
  • πŸ’‘For amigurumi, work tightly enough that stuffing doesn't show through stitches
  • πŸ’‘Keep a row counter or notepad to track rounds, especially in long even-stitch sections

This adorable Eeyore-inspired amigurumi combines classic crochet techniques with charming details for a truly special handmade friend. Each sectionβ€”head, body, limbs, ears, mane and tailβ€”builds into a character full of personality and soft melancholy. The detailed round-by-round instructions make the process simple and satisfying, and finishing touches like the tufted mane and pink tail ribbon bring extra charm. 🧢 Enjoy stitching this heartfelt toy and share your finished piece with pride! πŸŽ€

You ask,

we answer.

FAQs

What is the finished size of this amigurumi?

Based on the specified worsted weight yarn and a 3.25mm hook, the finished piece will be approximately 22-28 cm (9-11 inches) tall when sitting. Using thicker yarn or a larger hook will increase the final size proportionally.

Can I use different yarn weights for this pattern?

Yes! You can use any yarn weight, but remember to adjust your hook size accordingly (generally 1-2 sizes smaller than the yarn recommendation for tight amigurumi fabric). Different weights will change the final size and required stuffing.

Do I need to use safety eyes or can I embroider them?

Both options work beautifully! Safety eyes give a polished look and are secure for adult gifts. Embroidered eyes are best for items intended for young children since they remove small parts and allow for more expressive customization.

How much stuffing will I need?

For this size project, approximately 70-120 grams of polyester fiberfill should be sufficient depending on how firmly you stuff. Stuff firmly in feet and muzzle, moderately in limbs and body for a cuddly, stable toy.

Can I make the arms and legs poseable?

Absolutely! Insert small craft wire or pipe cleaner inside limbs before full stuffing, and fold or bend the wire ends to avoid sharp points. Wrap wire ends in a bit of yarn or tape before stuffing to protect the stuffing and fabric.

What if my stitch count is off?

If you notice a counting error, it is best to unravel back to the round where the count was correct and rework from there. Trying to compensate later often creates uneven shaping. Using a stitch marker at the start of each round helps prevent counting mistakes.

How do I prevent holes when stuffing?

Work with tight, consistent tension and use a hook slightly smaller than the yarn recommendation. Stuff in small amounts and compress filling gradually; patch small gaps with a few denser stitches or surface slip stitch to hide stuffing.

Can I customize colors and details?

Definitely! Swap palette colors to make seasonal versions, change mane color for a different look, or add accessories such as a tiny scarf, sweater, or different ribbon color for personalization.